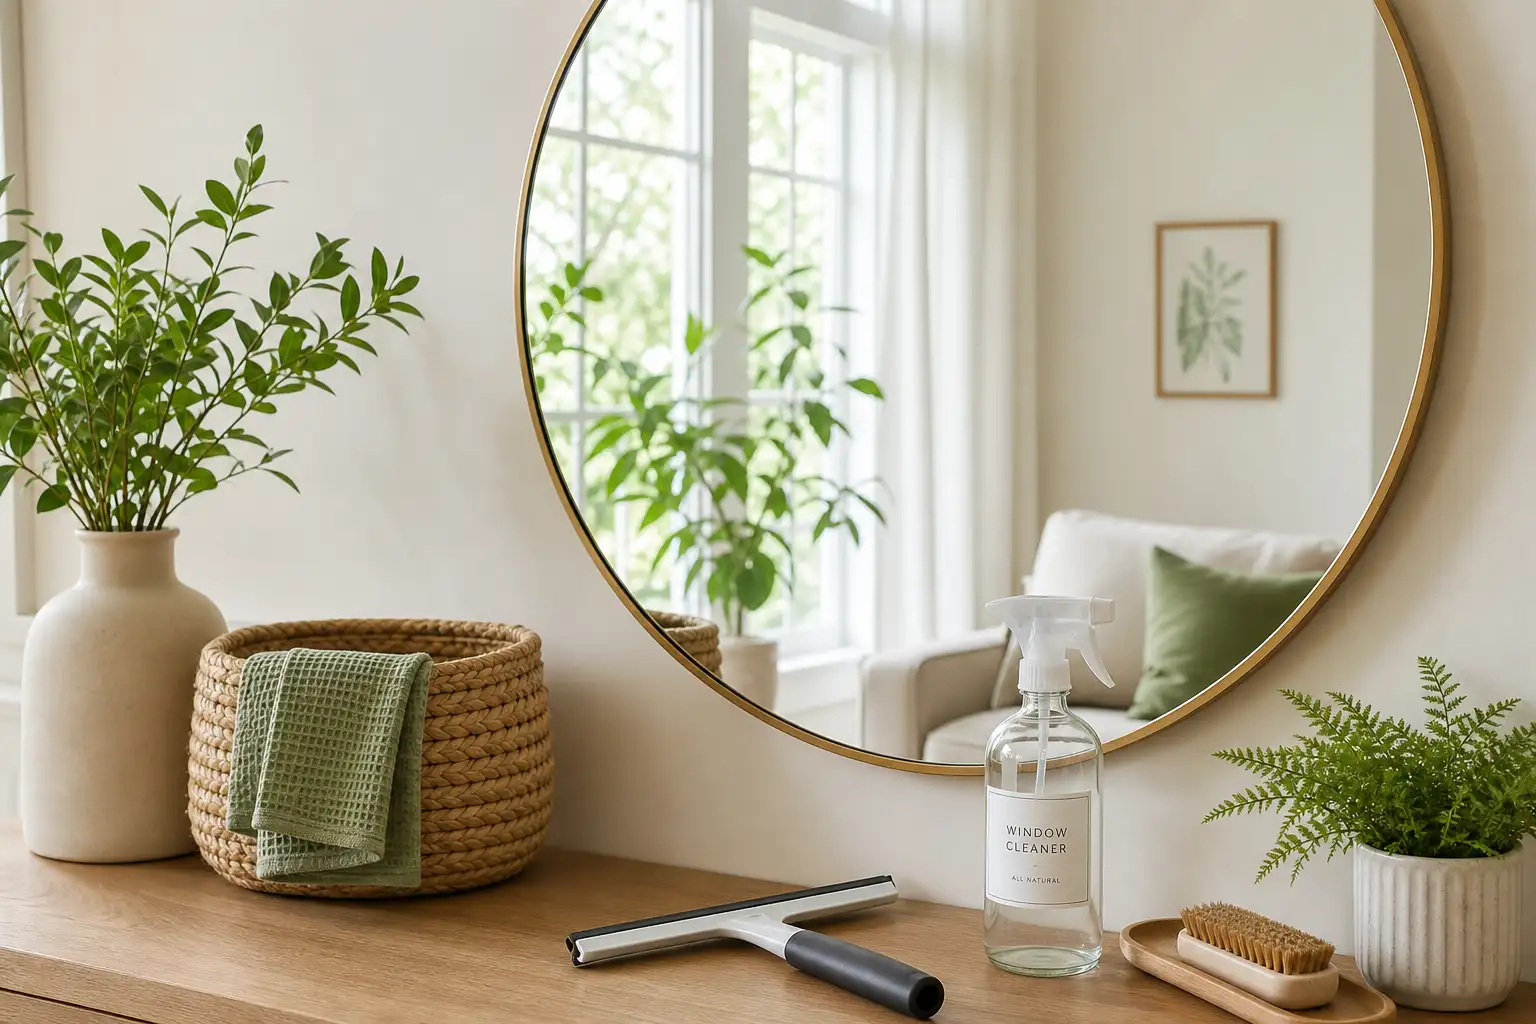
Clean windows transform a room. They let in more natural light, make spaces feel larger, and improve your view of the outdoors. But for most people, window cleaning ends in frustration: streaks that only become visible once the sun hits the glass at the wrong angle, or worse, smears that look worse than the dirt they replaced.
Professional window cleaners achieve flawless results not because they have access to secret products but because they use the right tools with the right technique. Here is what actually works.
The Tool Hierarchy
A high-quality squeegee is non-negotiable. The professional standard is a brass or stainless steel channel with a rubber blade that can be replaced when it wears. The Ettore and Unger brands dominate the professional market for good reason: their blades are precisely ground to make full contact with the glass without skipping.
Size matters. A ten or twelve-inch squeegee is the sweet spot for most residential windows. Larger blades cover more area but struggle on divided-light windows with muntins. Smaller blades give you more control but take forever on picture windows.
The scrubber, sometimes called a washer or T-bar, is the squeegee’s partner. It applies the cleaning solution and loosens dirt before the squeegee removes it. Look for a scrubber with a removable, machine-washable sleeve. Microfiber sleeves outperform natural sponges by a wide margin.
The Solution Debate
The most contentious topic in window cleaning is what solution to use. Commercial glass cleaners work, but professionals rarely use them because the cost adds up quickly across dozens of windows. The classic professional mix is simple: a gallon of warm water, a teaspoon of dish soap, and optionally a splash of white vinegar for hard water spots.
The dish soap provides just enough lubrication for the squeegee blade to glide without chattering. Too much soap creates suds that leave residue. Too little and the blade sticks. The exact ratio matters less than consistency once you find what works for your water hardness.
Avoid ammonia-based cleaners on tinted windows, as they can degrade the tint film over time. Avoid abrasive cleaners entirely. And never use a razor blade on tempered glass, which can shatter from even minor surface scratches.
The Technique That Eliminates Streaks
Streaks come from two sources: dirty solution drying on the glass before the squeegee reaches it, and dirty squeegee blades redepositing grime. Both are technique problems.
Start with the scrubber. Wet the entire window surface thoroughly and scrub any visible spots or stuck-on debris. Do not skimp on the scrubbing — this step does the actual cleaning. The squeegee only removes the dirty solution.
The squeegee stroke runs from top to bottom, slightly overlapping each previous stroke by about an inch. After each stroke, wipe the blade dry with a lint-free cloth. A wet or dirty blade is the number one cause of streaks. Professional cleaners wipe after every single stroke, and this habit alone accounts for most of the difference between amateur and professional results.
The edge detail is what separates good from perfect. After the main surface is cleared, run the squeegee horizontally along the top and bottom edges to catch the water that accumulated there. Use a microfiber cloth wrapped around your finger to dry the corners where the squeegee cannot reach.
The sill is the final step. Wipe it dry with a dedicated cloth. Water left to evaporate on the sill will drip down and leave mineral deposits on the glass below, undoing your work within days.
Exterior vs Interior Technique
Exterior windows accumulate different grime than interior ones. Pollen, bird droppings, hard water from sprinklers, and tree sap all require more aggressive scrubbing than the dust and fingerprints on interior glass.
For exterior windows, use a hose to pre-rinse before applying solution. This removes loose debris that would otherwise turn into abrasive slurry under your scrubber. For second-story windows, telescoping poles with squeegee attachments are safer and more effective than ladders. Modern poles extend to twenty feet or more and lock securely at any intermediate length.
Interior windows rarely need the full professional treatment. A quality microfiber cloth dampened with water, followed immediately by a dry microfiber cloth, handles most interior glass. Spray the cloth, not the glass, to avoid solution running down into window tracks and frames.
The Schedule That Maintains Results
Windows do not go from clean to filthy overnight. They accumulate grime gradually, and the best maintenance is frequency. Cleaning windows quarterly — once per season — keeps the task manageable and prevents the baked-on buildup that requires aggressive scrubbing.
Between deep cleans, a quick wipe of high-touch areas like door glass and windows above kitchen sinks goes a long way. These are the spots where handprints and cooking residue concentrate. Thirty seconds with a microfiber cloth once a week keeps them clear.
For homes with hard water, consider applying a rain-repellent treatment like Rain-X to exterior glass after cleaning. These treatments cause water to bead and roll off rather than drying in place, which reduces mineral spotting between cleanings. They are not permanent, but a single application typically lasts three to six months.